浜本研究室blog

2019年02月

Visit of Research Institute of Electrical Communication, Tohoku Univ.

東北大学電気通信研究所訪問

28 February 2019

Prof. Dr. Kiichi Hamamoto

教授 浜本 貴一


We have visited research institute of electrical communication, Tohoku Univ. during 21st (Thu) – 22nd (Fri) February 2019. Technical meeting has been held during these days.

2/21()-22()2日間、東北大学電気通信研究所を訪問させて頂きました。共同研究Pjとして合同研究会を開催致しました。

DSC_0655
Labs. of Prof. Toshihiko Hirooka. 廣岡教授の実験室にて。

DSC_0656
Fiber cables are covered using insulator for stablizing. 安定させるためにファイバケーブル類が覆われています。
DSC_0657
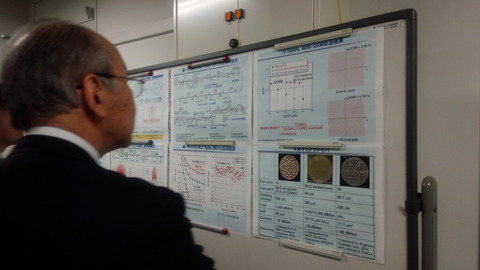
In front of poster (Prof. Yasuo Kokubun, Vice President of Chubu Univ.). こちらは招待講演を行っていただいた國分教授(現在、中部大副学長)。
DSC_0658
Coaxial cables are also covered. 同軸ケーブル類もカバーされています。
DSC_0659
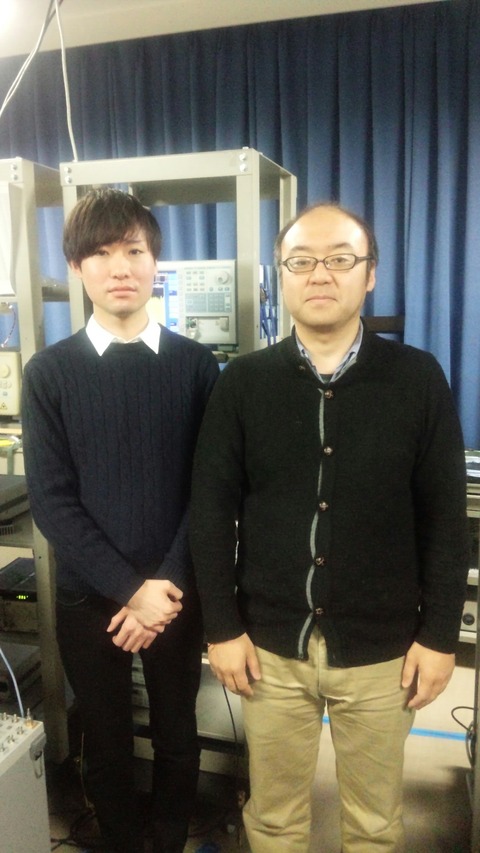
Assis. Prof. Keisuke Kasai, and Mr. Takashi Kan (D1 student). 葛西助教とD1の管さん。
DSC_0660
Mode lock laser? Waveshaper?モードロックレーザ?ウェーブシェイパー?(忘れてしまいました)。
DSC_0661
Prof. Masato Yoshida (Host). 東北大側のホストとしてご尽力頂いた吉田准教授。
DSC_0662
Prof. Masato Yoshida with me. 吉田先生とツーショット。
DSC_0663
Equipements are isolated from the circumstance. こちらも装置がカバーされています。
DSC_0665
Prof. Kasai explained his experiment. Prof. Haisong Jiang, and Mr. Satoshi Ogawa.
葛西先生がご説明されています。姜先生、小川君が写真に納まっています。
DSC_0666
Space mode multiplexing related. 空間モード多重伝送関係。


LQE (laser and quantum electronics technical group) committee

LQE(レーザ・量子エレクトロニクス研究専門委員会)委員会

2019/02/09

Prof. Kiichi Hamamoto

教授 浜本 貴一

I have been to business trip at Tokyo during 30th Jan (Wed) – 2nd Feb (Sat).

1/30()2/2()の間、東京に出張していました。


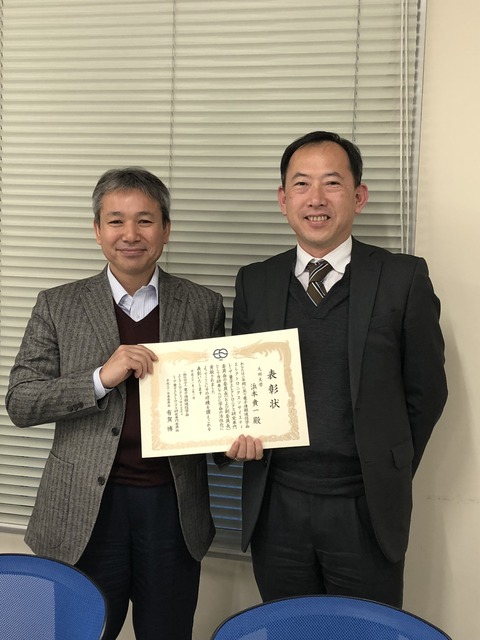
There was a LQE committee meeting on 1st Feb. And I was awarded for the contribution to it as a committee chair. I was so happy to be awarded. In addition, I felt that I also appreciated all of the members to support this technical group. I fully appreciate to all of the committee member.

2/1()に委員会が開催されました。有難いことに、その場で表彰していただきました(委員長として貢献したことに対しまして)。委員長を表彰して頂けるなんて、とても嬉しかったです。また、私の方こそ皆さんに感謝しなくては、という思いでした。委員の皆さんどうも有り難うございました!

IMG_3780


IMG_3781


Assembling of audio system for raspberry pi +B (Optical sensor, No. 2)

ラズベリーパイ用オーディオシステム製作(光学センサ続き その2

2019.2.3

Prof. Kiichi Hamamoto 教授 浜本 貴一


I have installed “Raspberry Pi +B” for mouse data analysis, and aiming AI technology trial. It is first time for me to install Linux base machine.

マウス用光学センサのデータ読み取り機として、更にはその先を見据えたAI技術検討機器として、ラズベリーパイを立ち上げていました。初めてLinuxベースの機械に触れることとなりました。

1_DSC00142


For the machine setting-up, I gave-up by emulating through windows PC, and instead I bought 7inch screen and key-board. It has been clarified that the main problem was due to SD card formatting way. In conclusion, I had to use “SD card formatter”, instead of windows-based regular formatting way.

立ち上げに際し、PCとの通信方法を試みましたが、うまくいかなかったため、本体から立ち上げることにしました。そのため、7インチスクリーン、キーボードも買い足しました。結局、SDカードの初期フォーマットに問題があることが分かりました。windows標準のフォーマット方法ではなく、SD Card FormatterというソフトでフォーマットすればOKです。

2_DSC00141


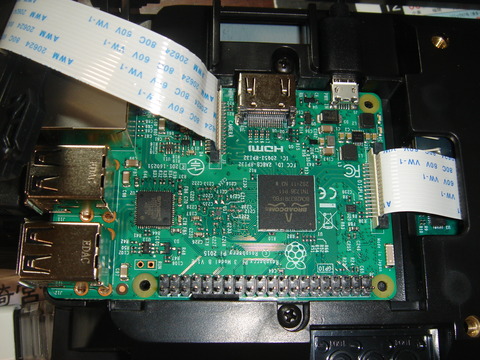
As shown in the above, Pi-camera was successfully assembled with the machine. I have confirmed camera-mode, video-mode, and streaming-mode using Linux. Interesting!

Linux制御によりカメラモード、ビデオモード、ストリーミングモードでも動かせます。家族にもデモしました。面白い!


Then, the following is the main topic today.

It also has an audio mini plug on the board. I decided to make audio system by myself.

さて、ここから先が今日の本題。

このボードにはステレオミニプラグもありましたので、オーディオシステムを自作することにしました。


I have inspected some possible audio ICs on web. Once I tried to design the circuit board, and planned to assemble with audio IC, chip resistor and capacitor, and surface-Mount capacitor, however, I noticed that especially surface-Mount capacitor (mostly it is 470μF) was relatively expensive (more than \500 sometimes). But finally I found full assembled IC (PAM8403) board in Amazon! It costed only \121 including mail-service. (*) This item is presently not possible. I suppose that the supplier made something wrong. The alternative supplier placed the same item with \271.

オーディオアンプICWEBで調べたうえで、チップ抵抗、キャパシタ、及びオーディオ用としてよく使われている表面実装型の電解コンデンサ(470μF)を探したところ、このコンデンサだけは、結構なお値段(単価500円ぐらいかな?)しています。どうしようかと思っていたところ、何とアマゾン上にフルアセンブルされたオーディオIC(PAM8403)ボードが出ていました!121円(送料込み)。何かの間違いか?(注:先ほど見たら、取り扱い無しの状態に変わっていました。多分出品側が何か間違えた可能性大ですが、今回はこの値段で手に入りました。本日時点では、別のサプライヤーで単価271円なら手に入ります。)。


It took 15days for the delivery. Today, I assembled two speakers, stereo mini-plug, and IC pin (power supply) with the board. It took me an hour for full assembling. I utilized speakers (4Ω) for DCC (digital command control) model-train which I have already bought before (they were not well installed into the intended train-model due to their size issue. I am happy to utilize these non-installed speakers for a different purpose).

発注してから15日ほど時間はかかりました。本日(出張から戻り)早速組み立てました。スピーカー2個、ステレオミニプラグ、電源供給用のICピンをICボードに配線しました。はんだ付け+組み立て作業は凡そ1時間。スピーカーは、鉄道模型のDCC(デジタル・コマンド・コントロール)工作で買ってあった、余りのスピーカーを転用しました。実装したかった模型内部のサイズに合わず断念したスピーカー(4Ω)で、転用先が見つかり無駄にならずに済みました。

4_DSC00137
 

3_DSC00136

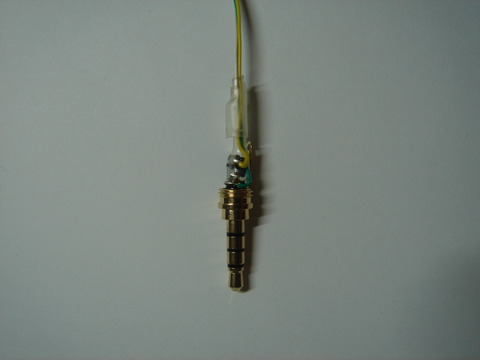
For wire detaching protection, I used thermally-shrunk tubes.

ステレオミニプラグへの配線は、抜け止め対策として熱収縮チューブで補強しています。

5_DSC00140

And finally it worked well on my PC! Power was supplied individually today. I will replace the IC-pin to USB socket later. IC socket connection is also possible for raspberry Pi, however, I wished to replace it to USB as it will be available to use with PC as well.

Windows PC上で動作確認しました。問題なく動作します!今日は外付けで5Vを別供給しましたが、この部分は後でUSBコネクタに付け替え、raspberryから直接電源供給させる予定です(ICピンソケットでも接続できますが、PCにも使えるように、ということで)。

 6_DSC00138

このページのトップヘ